Over the past few months I’ve been road-testing a humidity makeup regime that can take on steamy subways, sweltering treks to meet my Uber Pool driver, and long outdoor photoshoots. I’m excited to announce that finally….(dun-dun-duuuuun!) that the results are in!
Read on for my humidity makeup must-haves.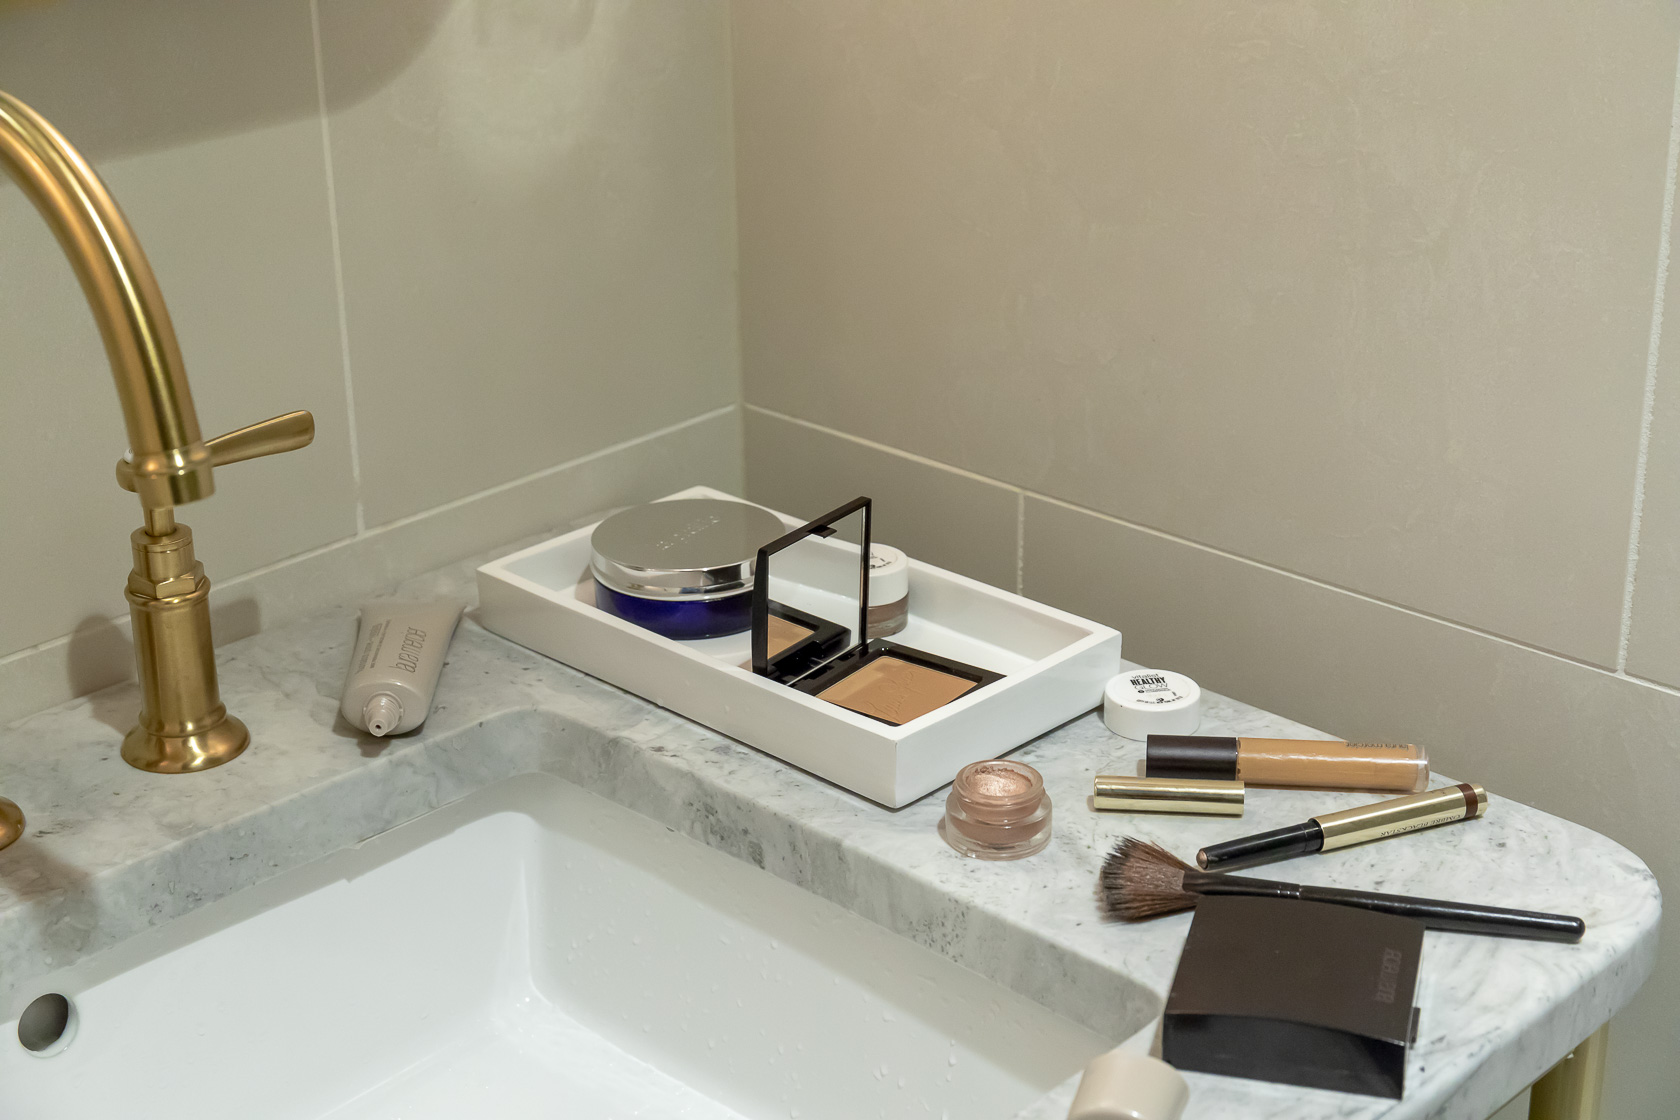


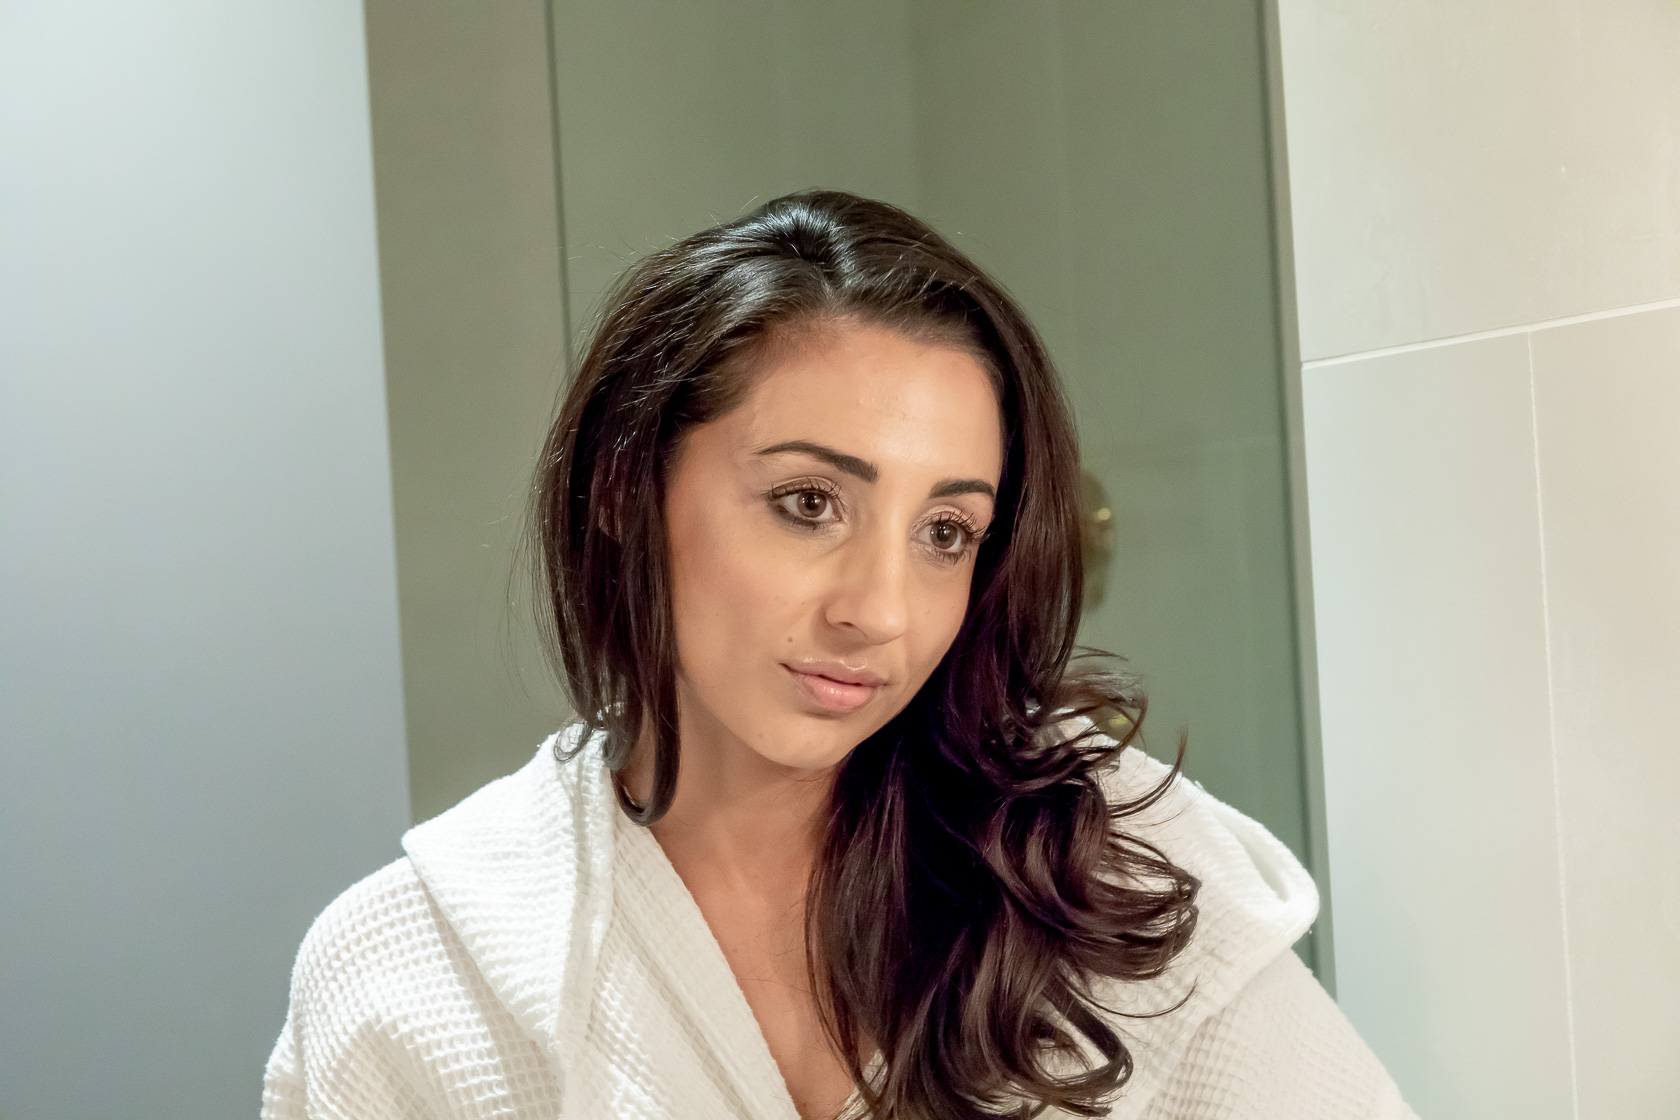
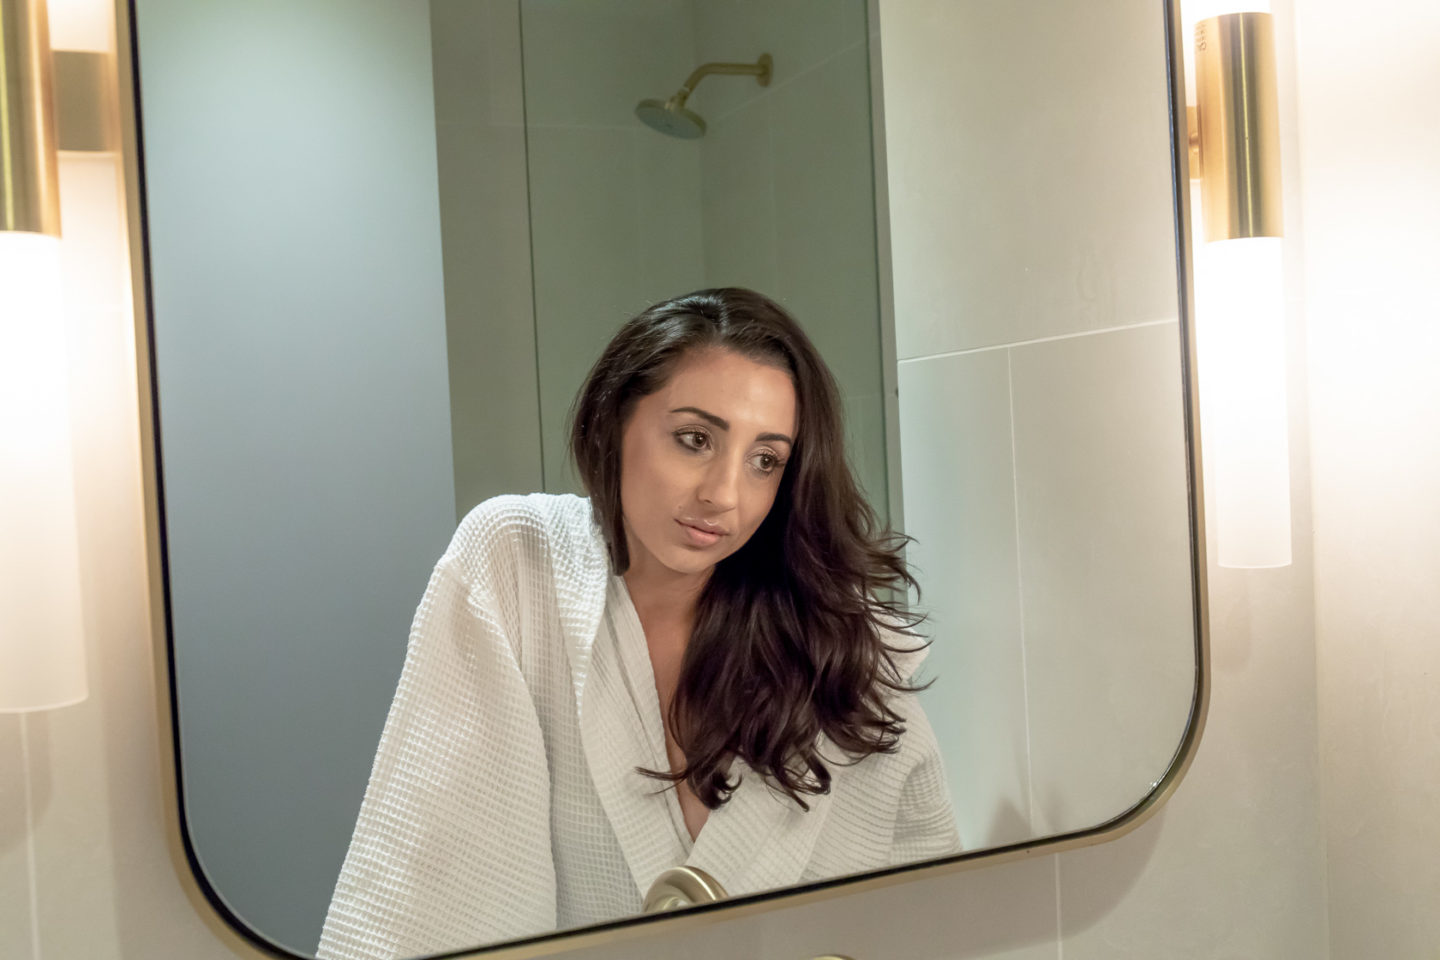
Summers in NYC are a beast. Moving here from California almost 2 years ago (can’t believe it’s been that long… insane!) and I am still trying to understand what I’m supposed to do with myself when humidity strikes.
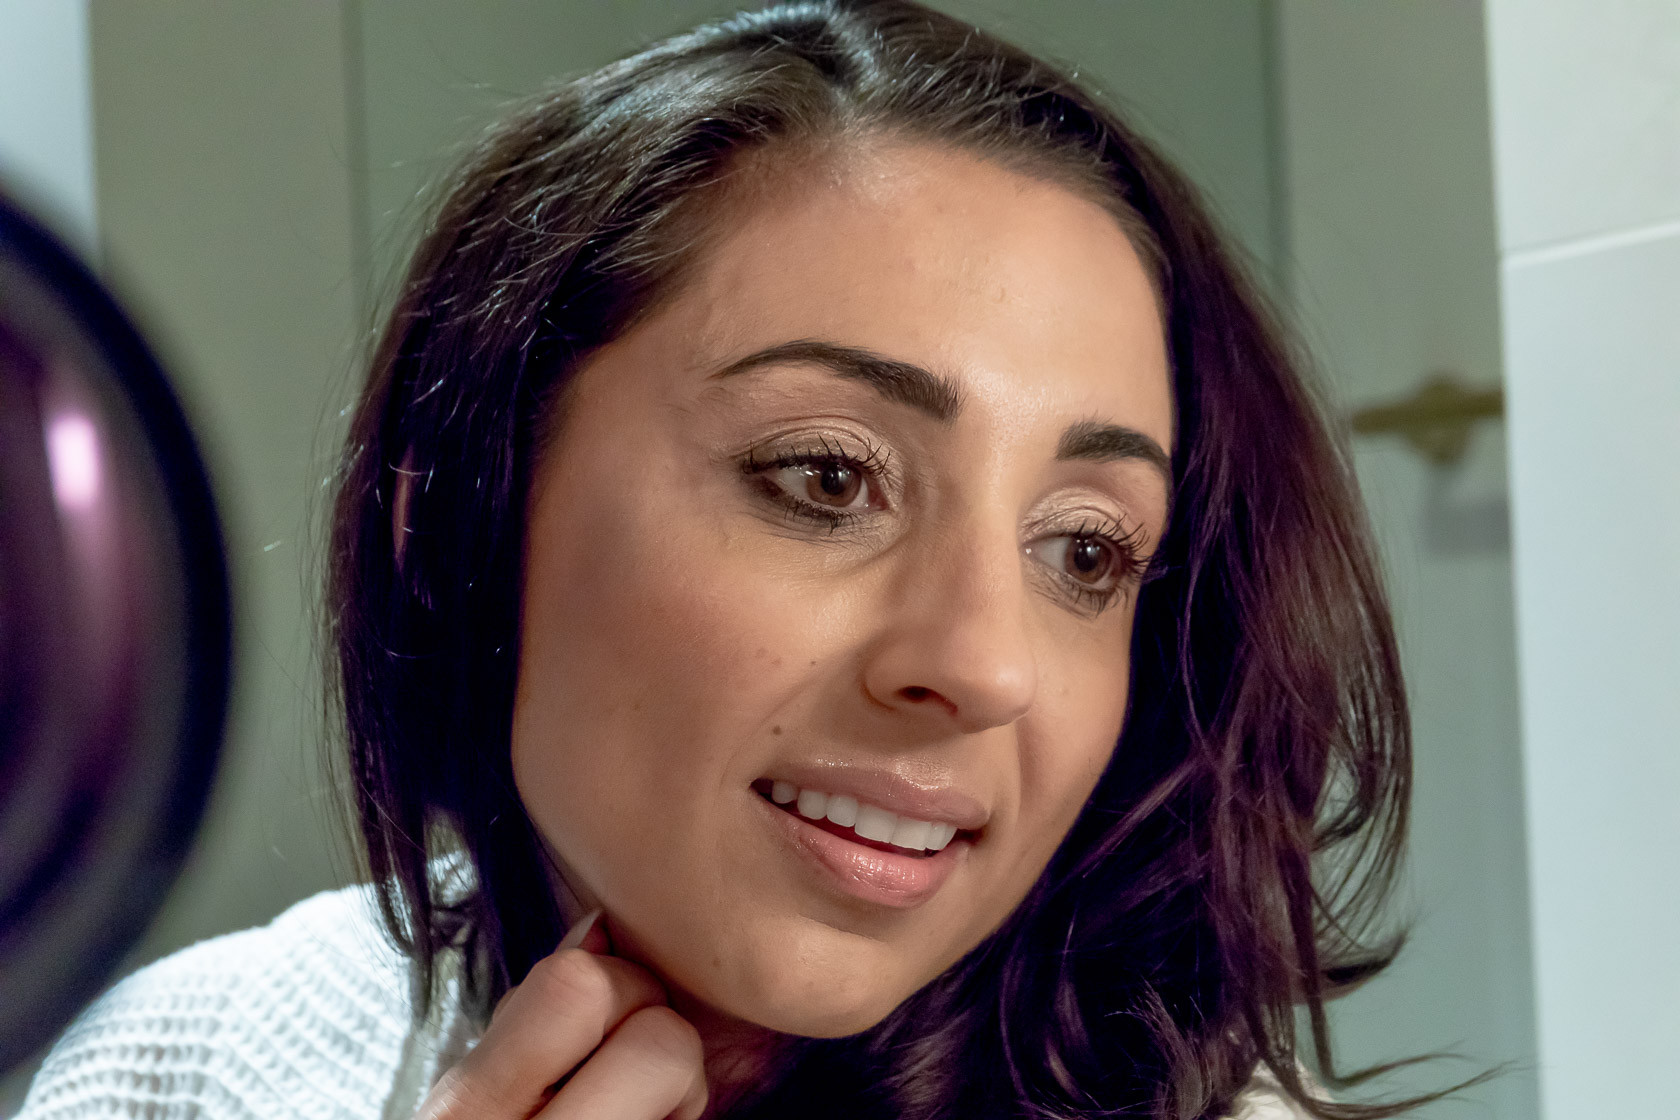
Regardless of the fact that it feels like I’m suffocating every time I go outside in this 99% humidity, I’m still craving that glowy, summer no-makeup-makeup face. I mean, I wait all year long for it! Anyone else?
I may not have all the answers, but here is my sweat-proof, smudge-proof, sun-proof, go-to, humidity makeup regime:
HUMIDITY MAKEUP REGIME:
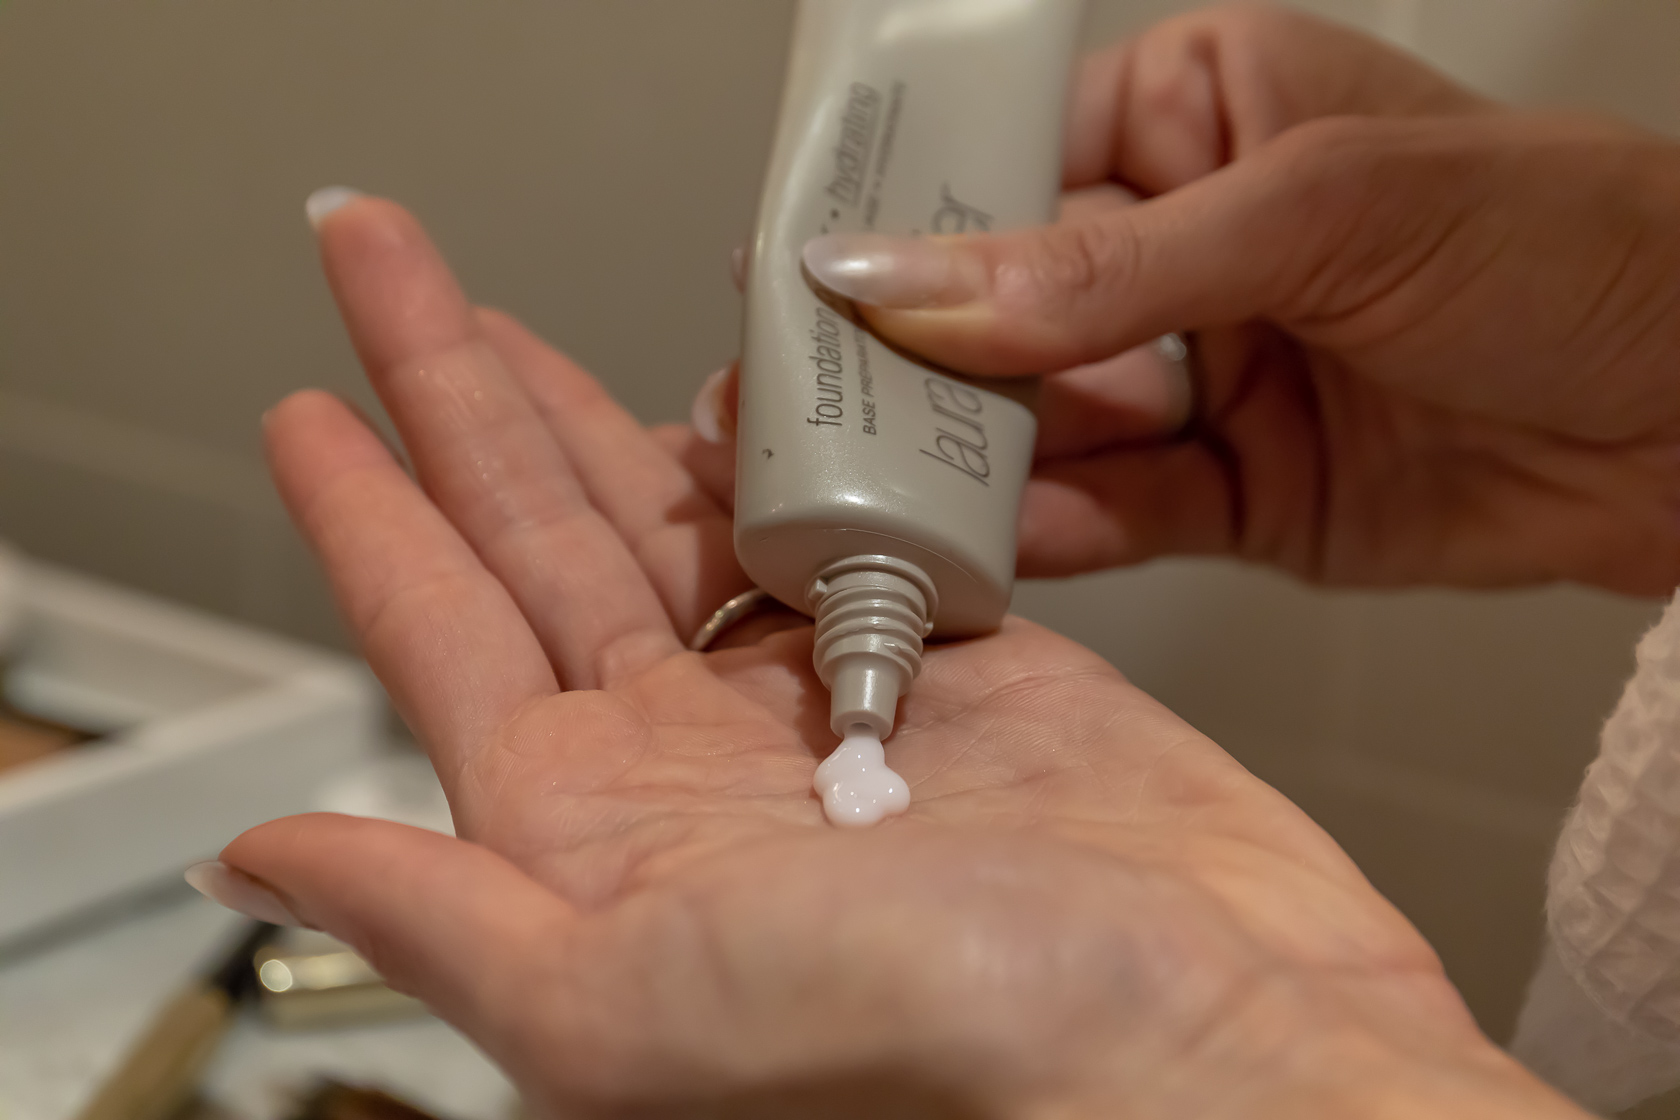
Step 1. Primer
After your skincare regime (which obviously includes applying broadband sunscreen to your face, ahem), apply primer. I love how hydrating this one is.
Step 2. Foundation
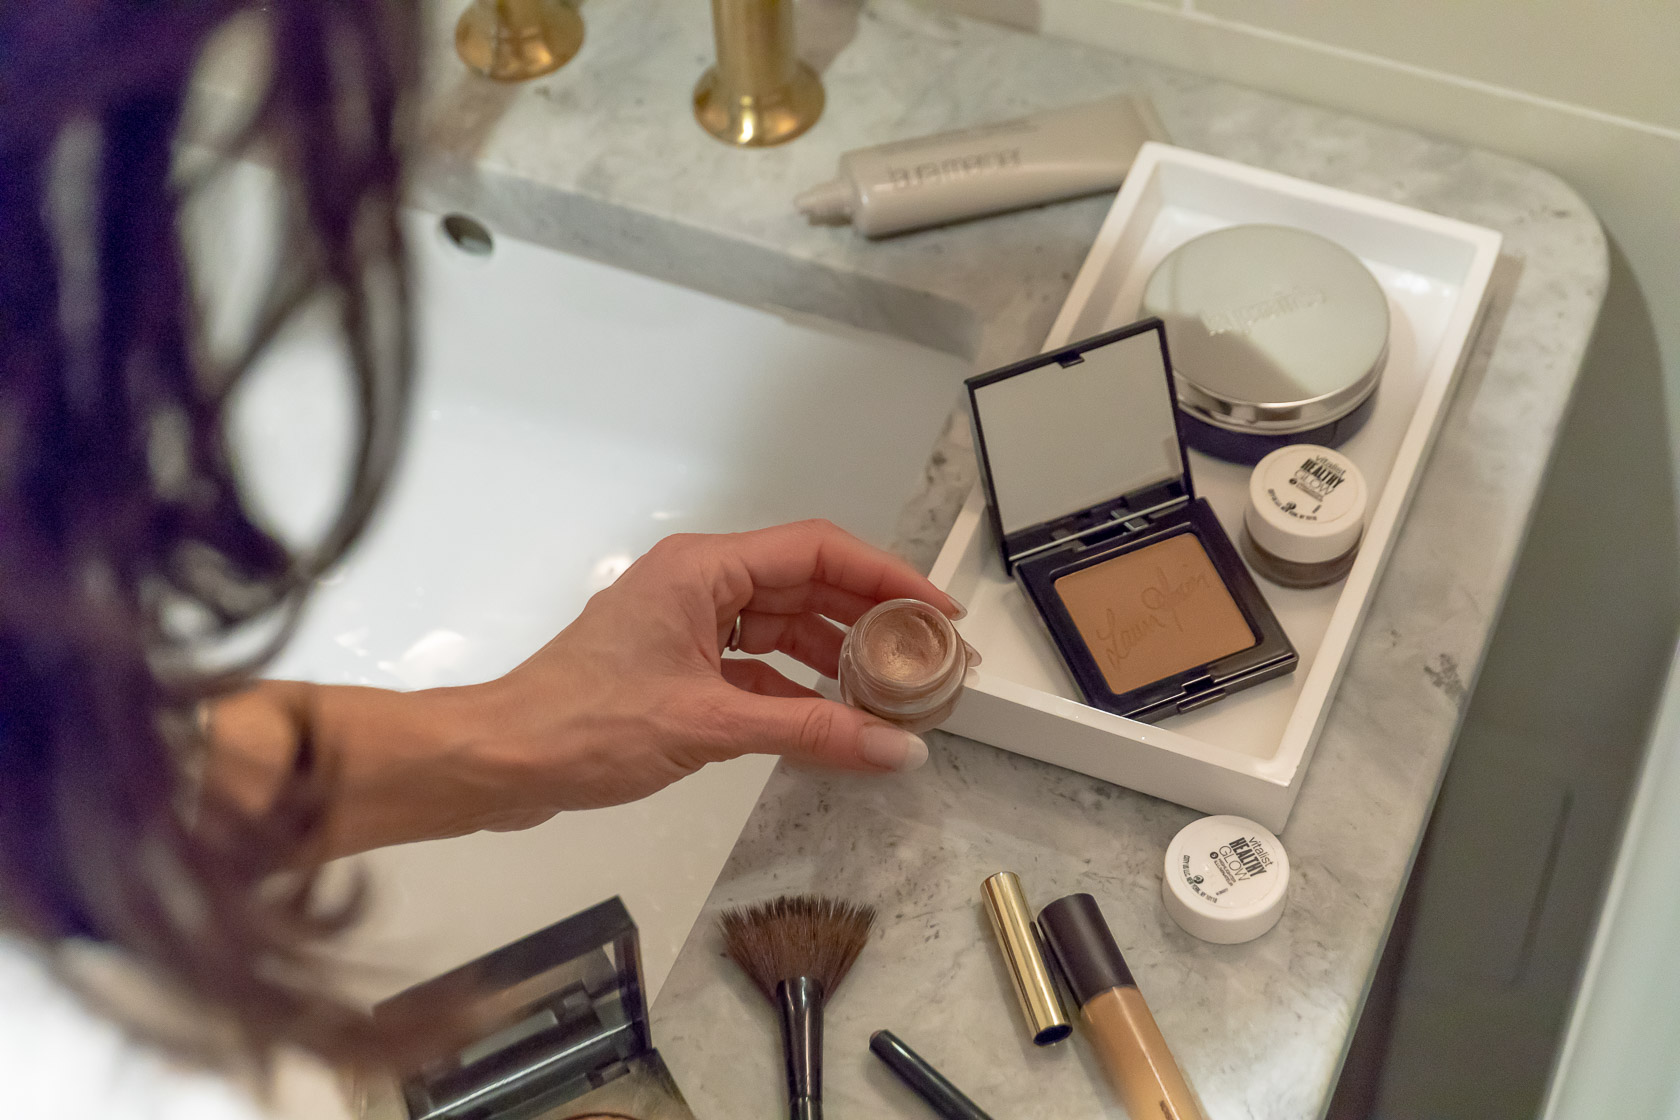
Not only does this cushion compact have SPF 25 in it (yes, you still should be wearing a sunscreen under it), BUT has the smoothest application that goes on flawlessly. It comes with a sponge applicator, but I prefer to use brushes so I can control the blend. The effect is Meghan-Markle-wedding-day freckle sheerness, while hiding all of your major skin flaws. I’ve tried probably over 200 foundations and this is one of my absolute all time favorites, and it lasts a long time. Easy to touch up on the go, and definitely worth the splurge! Oh, and no flashback.
Dot concealer under eyes, some orbital eye, and on other problem areas. I dot with the applicator, and pat with my finger to heat up the concealer, and blend. This one is medium-full coverage, and I love how it stays put and doesn’t move around or cake. I’ve been using it nonstop.
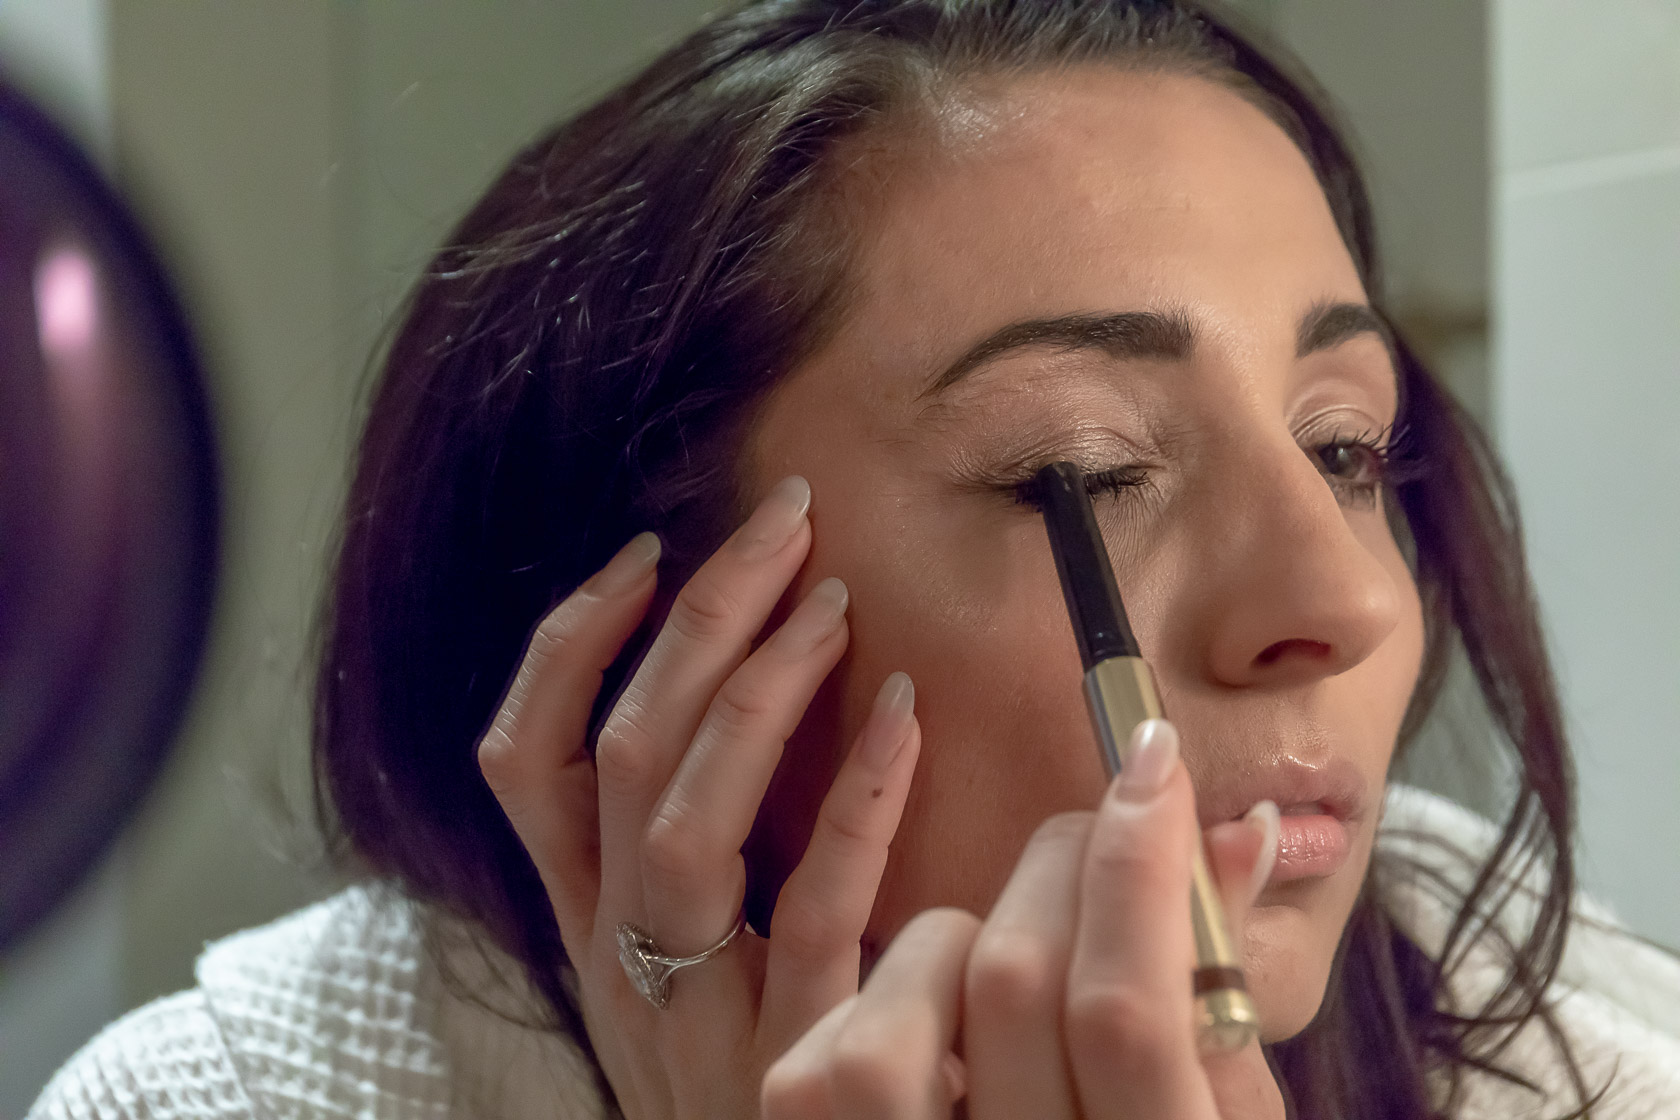
I barely do any eyes in the summer, but these metallic creams have been my go to’s for an undone smoky cat eye. I’ll then add a little shading to the crease with this cream stick, which is such a pigmented, gorgeous rich brown shade.
Step 5. Concealer again.
I have SUPER dark circles, so I’ll go in again and add a little bit of the same concealer afterwards, let it sit for 30 seconds, and then add some illuminating powder to set it, and then gently brush it off with a brush.
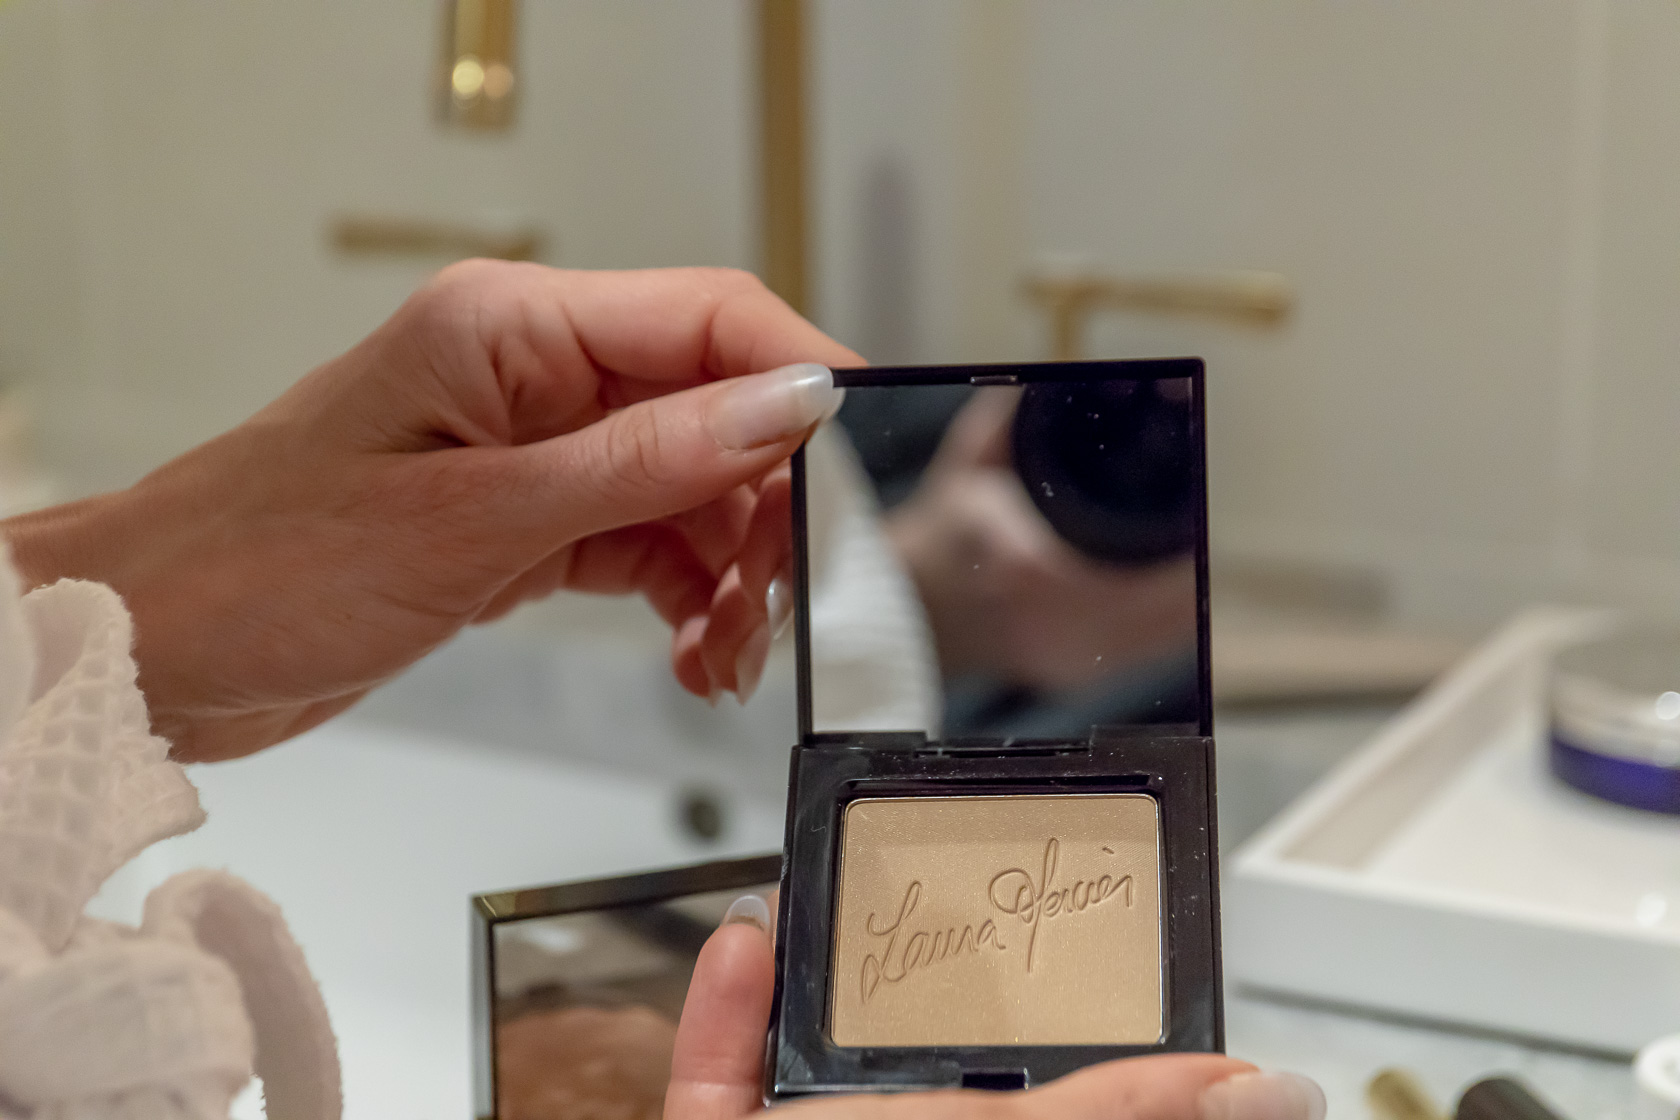
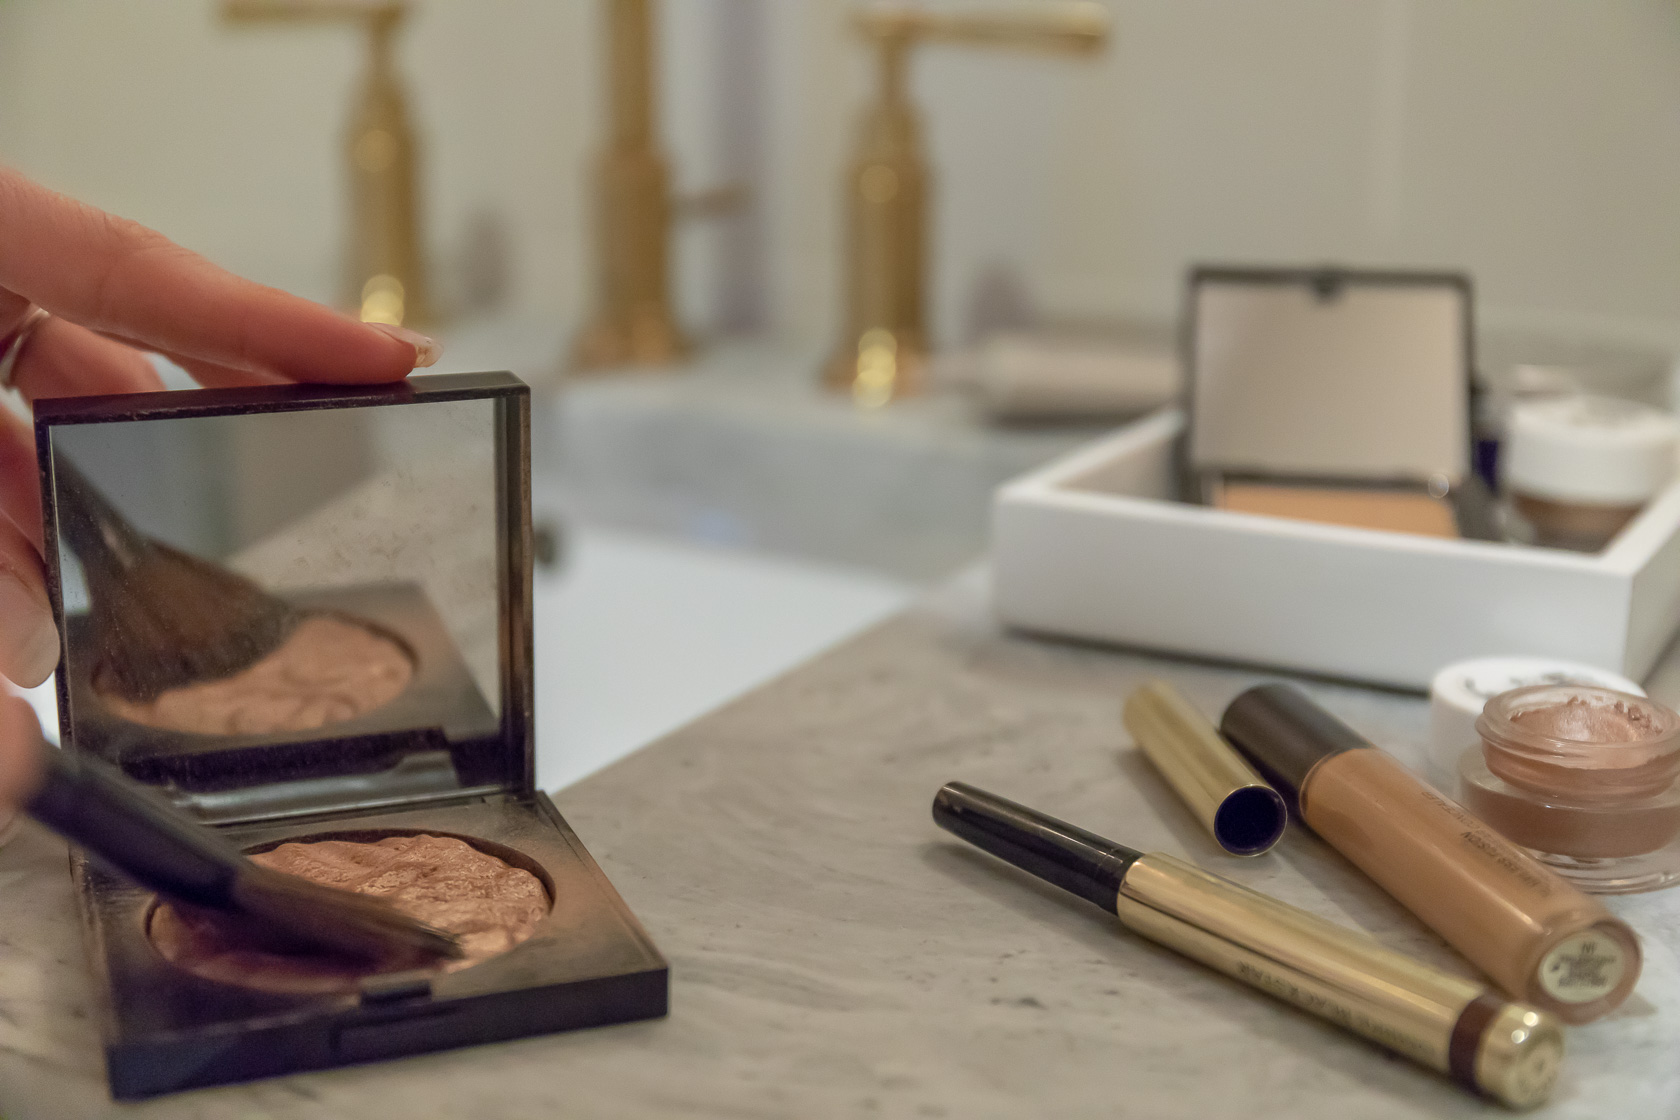
Step 6. Contour
I’ll do a VERY basic powder contour with this deep bronzer under my chin, on my forehead, and my cheekbones, just to give my face some dimension.
Step 7. Bronzer.
I have pretty dry skin, so I often use a matte bronzer in lieu of powder most of the time, and use it on the other areas of my face and neck that haven’t been contoured. I love this big, fluffy, bronzer brush.
*PRO TIP: If I’m feeling fancy or having a dewy skin day, I’ll sometimes add more of the illuminating powder to give the non-contoured areas of my face a filtered finish.
Step 8. Highlight
Cheekbones, cupids bow, under brow, and maybe collarbones if they’ll be showing in my outfit. I love this fan brush and this highlighter. It’s perfectly subtle, and endlessly pretty.
Step 9. Blush
A touch of blush makes everything better.
Step 10. Brows
I’m growing mine in, can you tell? LOL. That’s a whole other blog post though. During this awkward phase I’ve been relying heavily on this pencil and spooly brush combo.
Step 11. Setting Spray
I’ve tried so many setting sprays and keep coming back to this one, it keeps my makeup on for the entire day, including a full Soul Cycle class! I’ve been wearing it for about 5 years now. Spray in an X and T formation 8-10 inches away from your face.
Step 12. Lash Primer and Mascara
Top and bottom lashes at night, just top lashes during the day.
Step 13. Lip Mask
I live for this lip mask and wear it like regular chapstick. Sometimes I’ll layer a little bit of lipstick over it for a sheer look. It’s one of the only products that keeps my lips fully hydrated, plus it shiny (but not sticky) and gives a plump look to your lips.
And that’s it, good to go! It may seem like a lot of steps, it’s really not. If I hustle, I can honestly can do this look in 15 minutes. If you’re looking to save even more time, skip the contour and eyeshadow.
What are your makeup must-haves this summer? Anything humidity friendly? I would love to hear from you in the comments below!
XO
Jordan
SHOP ALL OF MY HUMIDITY MAKEUP MUST-HAVES: